#
Working with database

--
--
--
This is a guide to help you understand how to make your Quable app work with Prisma database.
Available in beta only
This is available in beta for now. Be aware that some performance issues might occur.
#
What is Prisma ?
Prisma is an open-source database toolkit, known for simplifying database access with an Object-Relational Mapping (ORM) approach. It allows developers to write database queries in TypeScript, enhancing readability and maintainability.
Prisma ensures type safety, reducing runtime errors by generating a type-safe database client. Prisma improves the developer experience through features like auto-completion and easy data modeling, and supports multiple relational databases like PostgreSQL, MySQL, and SQLite, making it a versatile tool for modern web development.
#
Database schema
The Prisma schema file, typically named schema.prisma, is a core component of Prisma. This schema file outlines the basic structure of your database, including the configurations for the Prisma Client, the database connection and the data model. For this project, the current Prisma schema file is configured as follows:
generator client {
  provider = "prisma-client-js"
}

datasource db {
  provider = "sqlite"
  url      = env("DATABASE_URL")
}

model QuableInstance {
  id          Int           @id @default(autoincrement())
  name        String
  authToken   String
  quableAppId String?
  createdAt   DateTime      @default(now())
  updatedAt   DateTime      @updatedAt

  @@map("quable_instance")
}
Generate client: The
generator clientblock configures the Prisma Client. It specifies the client that should be use (prisma-client-js).Database source: The
datasource dbblock defines the database connection details. SQLite is set as database (provider = "sqlite") and the database url is retrieved from an environment variable (url = env("DATABASE_URL")).Models: The
model QuableInstanceblock defines a single model in the database.- Fields include:
id(the primary key with auto-increment),name,authToken,quableAppId(optional),createdAt(with a default value of the current time), andupdatedAt(automatically updated when the record changes). - The model is mapped to the
quable_instancetable in the database (as indicated by@@map("quable_instance")).
- Fields include:
#
First project: managing translations
We're going to create a project that will translate a text, then display the translations on a view of our application. As a translation engine, we'll be using DeepL. You can get a free API key from their website.
#
1. Create a translation table
Let's create a Prisma model to store translations, with fields for source and translated text, language codes, and timestamps. To associate each translation with a specific customer, we'll set up a one-to-many relationship between QuableInstance and Translation models:
- Update your
schema.prismamodels with:
model QuableInstance {
  id          Int           @id @default(autoincrement())
  name        String
  authToken   String
  quableAppId String?
  translation Translation[]
  createdAt   DateTime      @default(now())
  updatedAt   DateTime      @updatedAt

  @@map("quable_instance")
}

model Translation {
  id               String         @id @default(uuid())
  quableInstance   QuableInstance @relation(fields: [quableInstanceId], references: [id])
  quableInstanceId Int
  sourceLocale     String
  targetLocale     String
  sourceText       String
  targetText       String
  createdAt        DateTime       @default(now())
  updatedAt        DateTime       @updatedAt

  @@map("translation")
}- You need to re-synchronize you database with the new schema with the following command:
yarn prisma db push
or
npx prisma db push
Your database will be automatically synchronized during app startup with
quable app dev.
#
2. Display translations
As described in the previous sections, the project follows the MVC pattern . we will proceed with this translation project, by creating a route, a controller, a service, and a view.
#
Translation service
Create a new file named translation.service.ts inside services directory, with this content:
import { databaseService } from "./database.service";

class TranslationService {
  public getTranslations = async (instanceId: number) => {
    const response: any = {
      statusCode: 200,
      message: "OK",
      data: null,
    };

    try {
      response.data = await databaseService.translation.findMany({
        where: { quableInstanceId: +instanceId },
        take: 15,
        orderBy: { createdAt: "desc" },
      });
    } catch (error) {
      response.statusCode = 500;
      response.message = error?.message;
    }

    return response;
  };
}

export const translationService = new TranslationService();
The getTranslations method is asynchronous and retrieves translations from the database. It accepts an instanceId parameter, corresponding to current quable instance. It performs a database query to find many translations where the quableInstanceId matches the provided instanceId. It limits the result to 15 entries, ordered by creation date in descending order.
#
Translation controller
Create a new file named translation.controller.ts inside controllers directory, with this content:
import { translationService } from "src/services/translation.service";
import { Response } from "express";

class TranslationController {
  public renderIndex = async (req: any, res: Response) => {
    const response = await translationService.getTranslations(
      req.quableInstance.id
    );
    return res.render("pages/translation", {
      translations: response.data,
    });
  };
}

export const translationController = new TranslationController();
This controller define a asynchronous method renderIndex. It calls the getTranslations method from the translation service, passing the customer name from the request, and then renders a page with the retrieved translation data.
#
Translation route
Create a new file named translation.routes.ts inside routes directory, with this content:
import { translationController } from "src/controllers/translation.controller";
import { Router } from "express";

const translationRouter = Router();

translationRouter.get("/", translationController.renderIndex);

export default translationRouter;
A new router instance is instantiated with Router(). Then a route is defined / to handle GET requests, and this route is associated with the renderIndex method from the translation controller
After defining the routes, you must register the route in index.ts
import translationRouter from "./routes/translation.routes";
/*
... code ...
*/
app.use("/:customer/translation", translationRouter);
The route
/:customer/translationis a flexible web URL, where the customer variable is use to distinct requests per customer, making your application multi-tenant.
#
Translation view
Create a directory named translation in public/view/pages. Then create index.ejs file inside translation directory with the following content :
<div id="translation-page align-self-start">
  <% if (translations?.length> 0) { %>
  <table class="table" id="translations-table">
    <tbody style="text-align: left">
      <tr>
        <th>Source Language</th>
        <th>Source Text</th>
        <th>Target Language</th>
        <th>Target Text</th>
        <th>Creation Date</th>
      </tr>

      <% translations.forEach(function(translation) { %>
      <tr translationId="<%= translation.id %>">
        <td><%= translation.sourceLocale %></td>
        <td><%= translation.sourceText %></td>
        <td><%= translation.targetLocale %></td>
        <td><%= translation.targetText %></td>
        <td>
          <%= new Date(translation.createdAt).toLocaleDateString('en-US') %>
        </td>
      </tr>
      <% }); %>
    </tbody>
  </table>
  <% } else { %>
  <p>No translations</p>
  <% } %>
</div>
The main content is wrapped inside a div with an ID translation-page. This section dynamically renders content based on the availability of translations. If there are translations (translations.length > 0), it displays a table. This table lists translations with columns for source language, target language, and creation date. For each translation, a table row (
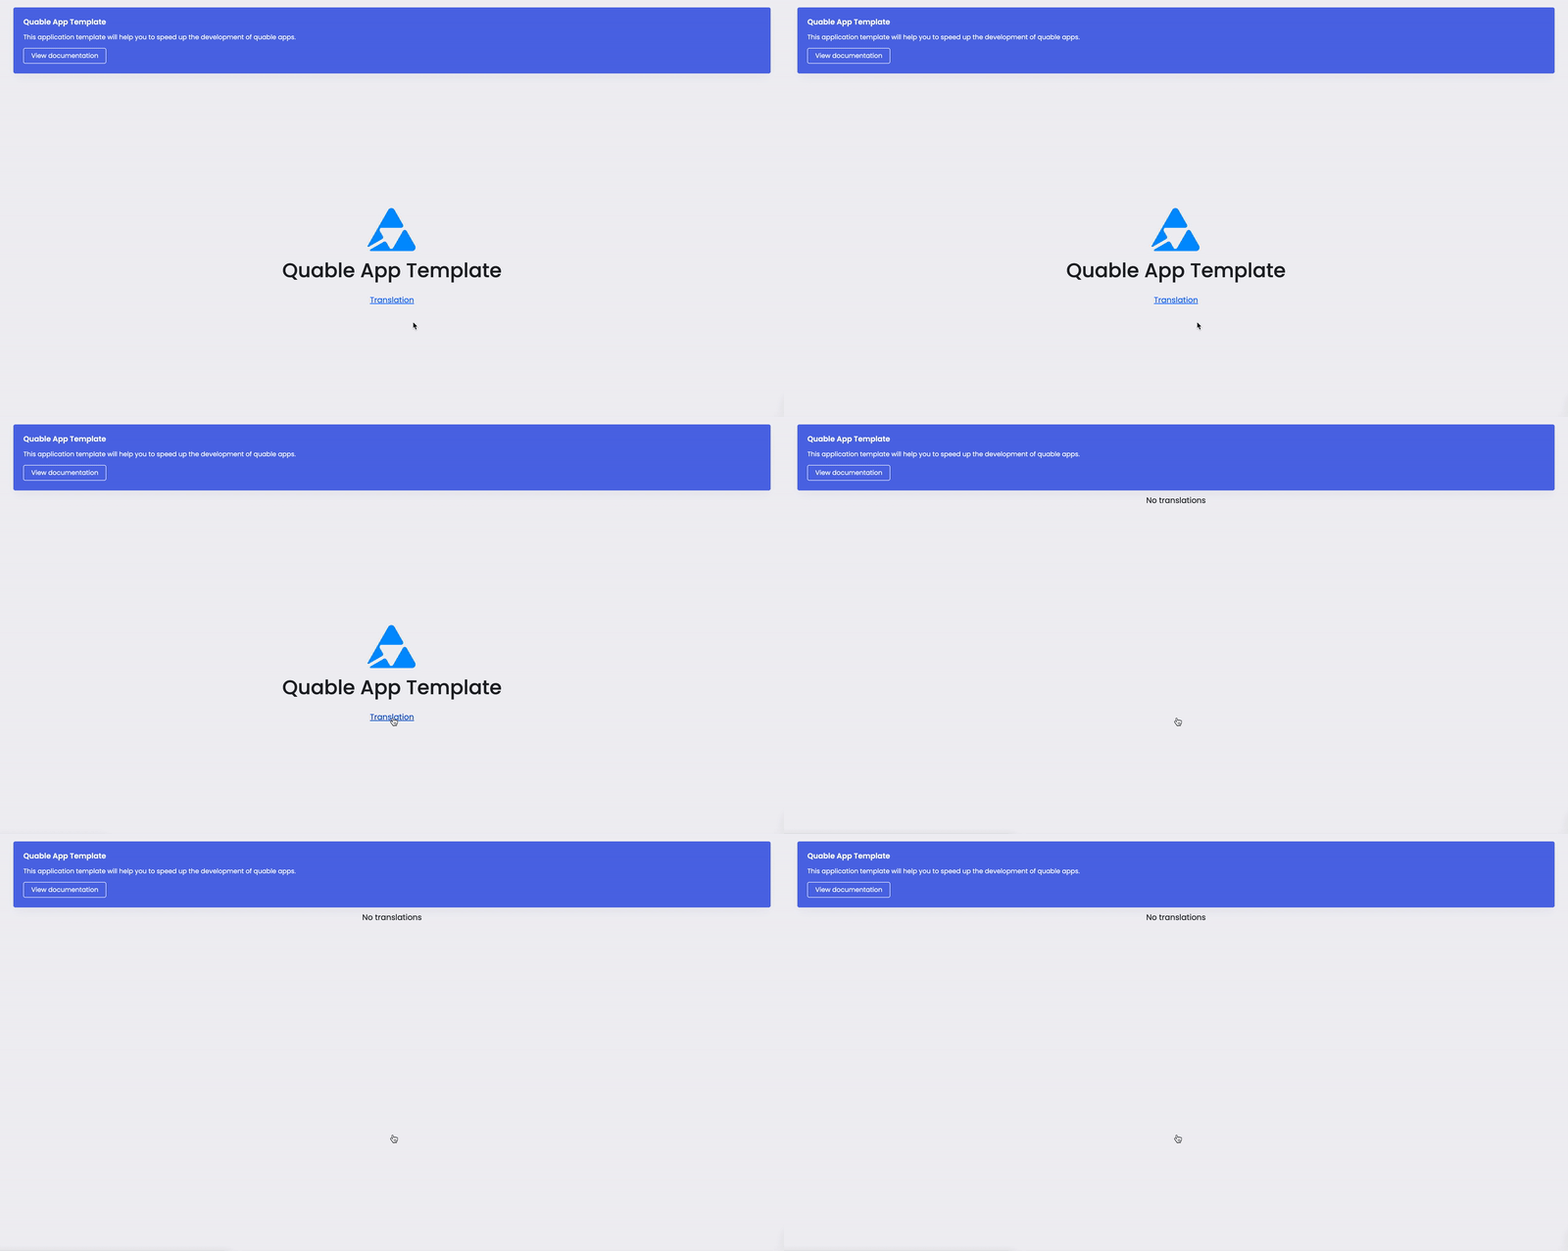
Finally, update the index.ejs template with a link to the translation page. You should include the authenticated customer variable the URL.
<div class="center">
  <img
    src="/images/quable-logo.png"
    alt="quable_logo"
    height="100"
    class="mb-2"
  />
  <h1 class="mb-4 text-bold">Quable App Template</h1>
  <a class="mx-1" href="<%- customer %>/translation">Translation</a>
</div>
Note : For every authenticated session, there is a variable named customer that corresponds to the quable pim instance name.
Open your quable application to watch changes

#
3. Create translations
We'll first install the Official Node.js Client Library for the DeepL API
yarn add deepl-node
or
npm install deepl-node
#
Update translation service
We will update the translation service by adding the following code:
- Import
deepl-nodelibrary to request DeepL API:
import * as deepl from "deepl-node";- In the TranslationService class, add the following property:
private translator = new deepl.Translator(process.env.DEEPL_API_KEY!);It's creates a private instance of the DeepL Translator using the API key from the environment. Make sure to update your .env file with the newly added variable DEEPL_API_KEY and assign it the corresponding Deepl API Key value.
DEEPL_API_KEY=<your-deepl-api-key>- Finally, add the following methods:
public getLocales = async () => {
  let result;
  try {
    result = await this.translator.getSourceLanguages();
  } catch (error) {
    result = [];
  }
  return result;
};

public createTranslation = async (data: any, instanceId: number) => {
  const response: any = {
    statusCode: 201,
    message: 'OK',
    data: null,
  };

  try {
    const { sourceLocale, sourceText, targetLocale } = data;

    const result: any = await this.translator.translateText(
      sourceText,
      sourceLocale,
      targetLocale,
    );

    const targetText = String(result.text);

    response.data = await databaseService.translation.create({
      data: {
        sourceLocale,
        targetLocale,
        sourceText,
        targetText,
        quableInstanceId: +instanceId,
      },
    });
  } catch (error) {
    response.statusCode = 500;
    response.message = error?.message;
  }
  return response;
};
The getLocales function fetches source languages via the DeepL API. Meanwhile, the createTranslation function uses the DeepL API to translate text, saves the translation in a database, and returns a response object.
#
Update translation controller
Update the translation.controller.ts with the following method:
public renderCreatePage = async (_req: any, res: Response) => {
  const locales = await translationService.getLocales();
  return res.render('pages/translation/create', {
    locales,
  });
};


public createTranslation = async (req: any, res: Response) => {
  const response = await translationService.createTranslation(
    req.body,
    req.quableInstance?.id,
  );
  if (response.statusCode == 201) {
    return res.redirect('../translation');
  }

  return res.status(response.statusCode).send(response);
};
renderCreatePage fetches available locales and displays a translation creation page. createTranslation manages translation creation, redirects to the list page on success, or displays error messages when necessary.
#
Update translation routes
We will add two new routes into our translation router:
- The first route is for displaying the translation creation page :
translationRouter.get("/create", translationController.renderCreatePage);- The second route is designed to handle requests for creating translations :
translationRouter.post("/create", translationController.createTranslation);
#
Create translation creation view
Create create.ejs file inside public/views/page/translation directory with the following content:
<div id="create-translation">
  <form method="post" class="py-2" id="translation-create-form">
    <div class="row">
      <div class="col">
        <div class="mb-3">
          <select id="create-source-locale" name="sourceLocale" class="form-select"  >
            <% locales.forEach(function(locale) { %>
              <option value="<%= locale.code %>"><%= locale.name %></option>
            <% }); %>
          </select>
        </div>
        <div class="mb-3">
          <textarea class="form-control" name="sourceText" rows="10"></textarea>
        </div>
      </div>
      <div class="col">
        <div class="mb-3">
          <select id="create-target-locale" name="targetLocale" class="form-select">
            <% locales.forEach(function(locale) { %>
              <option value="<%= locale.code %>"><%= locale.name %></option>
            <% }); %>
          </select>
        </div>
        <div class="mb-3">
          <textarea disabled class="form-control" rows="10"></textarea>
        </div>
      </div>
    </div>
    <button class="btn btn-primary">Create</button>
  </form>
</div>
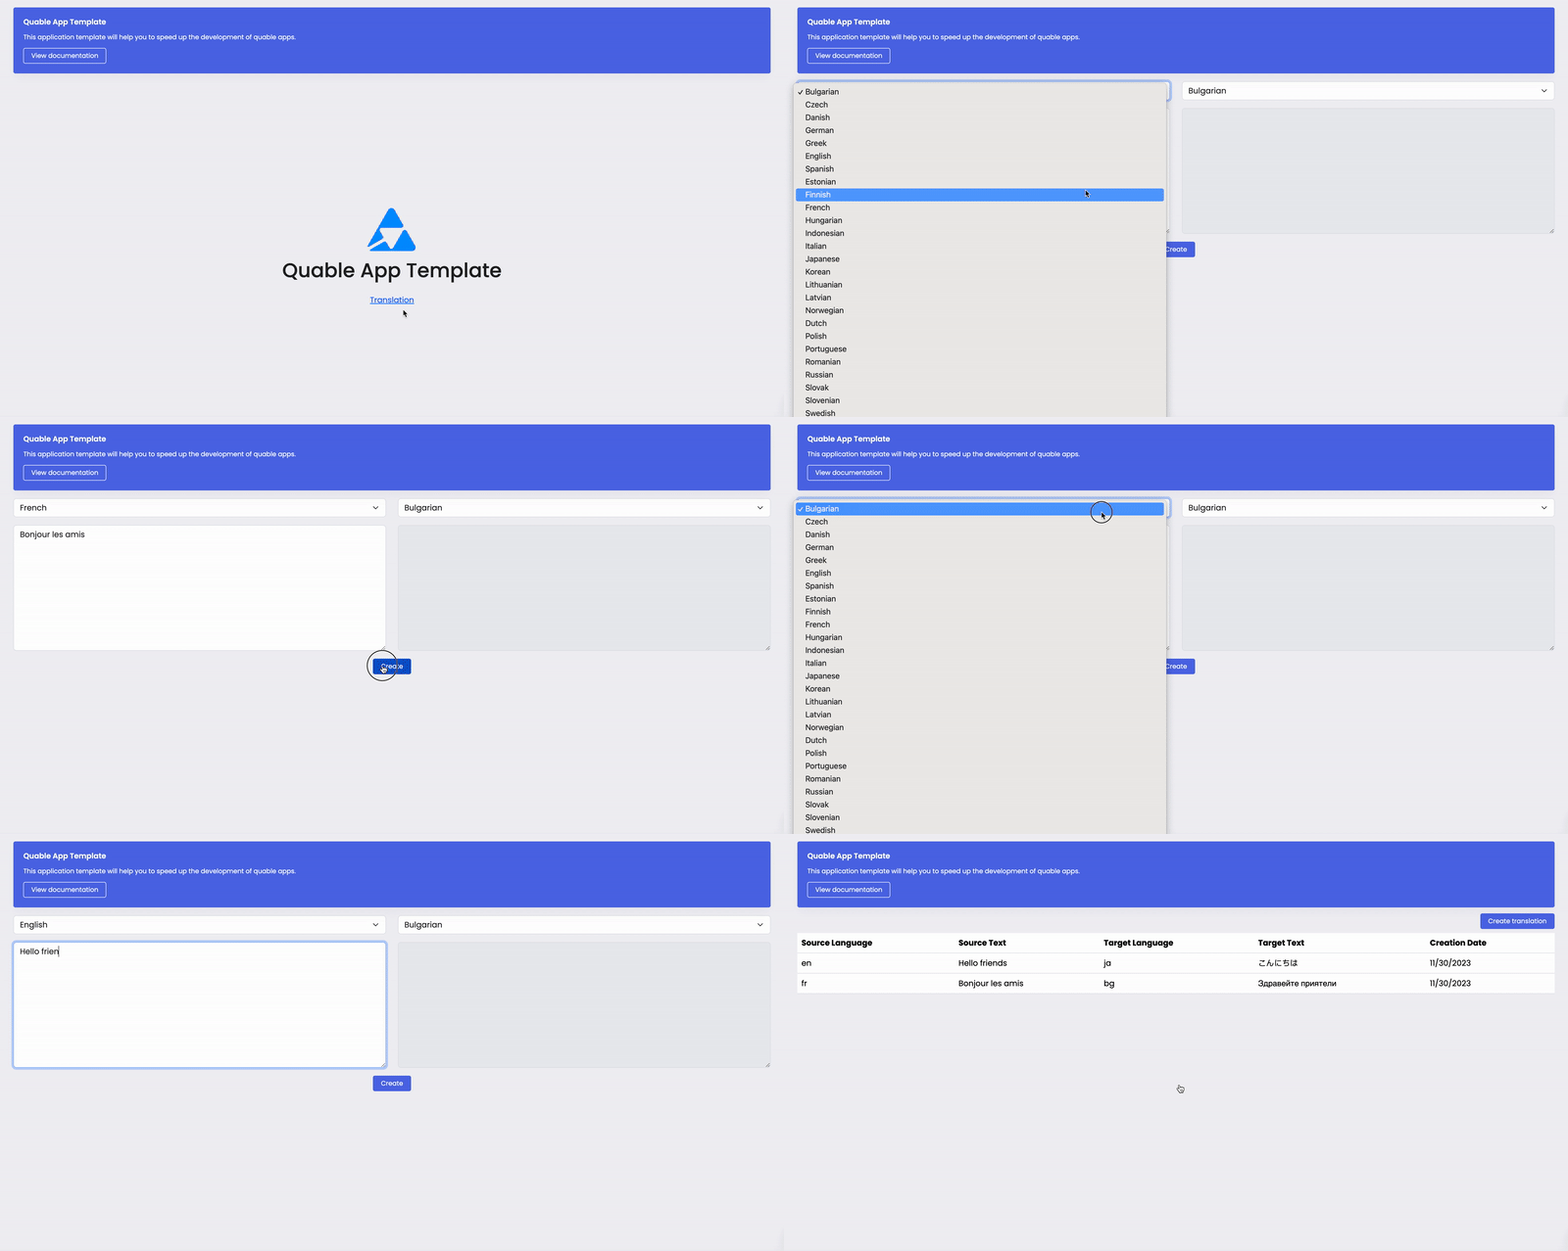
This EJS view template renders an HTML form for creating translations. It includes dropdown selects for source and target locales, text areas for source and target text input, a disabled text area for displaying the translated text, and a "Create" button. EJS tags embed JavaScript code for populating select options from a locales array variable.
#
Update translation list view
Insert this code snippet in translation view (views/page/translation/index.ejs) just before the block that displays the list of translations.
  <div class="d-flex mt-1 mb-2" style="justify-content: end">
    <a href="translation/create" id="create-translation-btn" class="btn btn-primary">
      Create translation
    </a>
  </div>
It provides easy access to the translation creation page.
Open your Quable application to see the changes

Done ✅
This tutorial has provided you with a comprehensive understanding of Prisma's functionality, database setup and the development of services, controllers, and views in our application. Moreover, we've explored the seamless integration of the DeepL API for translation.
