#
Interact with Quable PIM API

This is a guide to help you to understand how your Quable app can interact with the Quable PIM.
Available in beta only
This is available in beta for now. Be aware that some performance issues might occur.
#
Project: Document Management
In this tutorial, we will create an app that displays different document types on a page and retrieves documents based on the selected document type without having to reload the entire page.
#
Requirements
We're going to use the quable-pim-js to interact with the Quable PIM API.
yarn add @quable/quable-pim-js
or
npm install @quable/quable-pim-js
#
1. Display document types
#
Document service
Let's create a service to manage document-related tasks. Create a file named document.service.ts within the services directory and paste the provided code:
import { QuablePimClient } from "@quable/quable-pim-js";
import { QuableInstance } from "@prisma/client";

class DocumentService {
  public getDocumentTypes = async (quableInstance: QuableInstance) => {
    const response: any = {
      statusCode: 200,
      message: "OK",
      data: null,
    };

    try {
      const quablePimClient = new QuablePimClient({
        instanceName: quableInstance.name,
        apiKey: quableInstance.authToken,
      });

      response.data = await quablePimClient.PimApi.DocumentType.getAll({
        objectType: "document",
        limit: 8,
      });
    } catch (error) {
      response.statusCode = 500;
      response.message = error?.message;
    }

    return response;
  };
}

export const documentService = new DocumentService();
The getDocumentTypes method retrieves a list of document types using the QuablePimClient initialized with the instance name and authentication token, present in the quableInstance object.
#
Document controller
Let's create a controller to manage incoming requests. Create a file named document.controller.ts in the controllers folder and paste the given code:
import { Response } from "express";
import { documentService } from "src/services/document.service";

class DocumentController {
  public renderIndex = async (req: any, res: Response) => {
    const response = await documentService.getDocumentTypes(req.quableInstance);
    return res.render("pages/document", {
      documentTypes: response.data,
    });
  };
}
export const documentController = new DocumentController();
This renderIndex method uses the documentService to retrieve document types and renders the document page with the retrieved document types.
#
Document routes
Create a new file named document.routes.ts in the routes directory and paste the following code:
import { documentController } from "src/controllers/document.controller";
import { Router } from "express";
const documentRouter = Router();

documentRouter.get("/", documentController.renderIndex);

export default documentRouter;
A new router instance is created using Router(). Then a route is defined for handling GET requests. The index method of documentController is linked to this route.
After defining the routes, you must register the route in index.ts**
import documentRouter from "./routes/document.routes";
/*
 ... code
*/
app.use("/:customer/document", documentRouter);
#
Document view
With the backend now configured, let's create a view to display our document types. Create a new folder called document inside the public/views/page directory. Create a file named index.ejs in document folder and insert the following code:
  <div class="row">
    <div class="col text-left" id="document-types-container">
      <% if (documentTypes?.length > 0) { %>
      <ul class="list-group">
        <% documentTypes.forEach(function(documentType) { %>
        <button docTypeId="<%= documentType.id %>" type="button" class="list-group-item list-group-item-action">
          <%= documentType.name[interfaceLocale] || documentType.id %>
        </button>
        <% }); %>
      </ul>
      <% } else { %>
      <p>No document types found</p>
      <% } %>
    </div>
    <div class="col" id="document-container">Select a document type</div>
  </div>
</div>
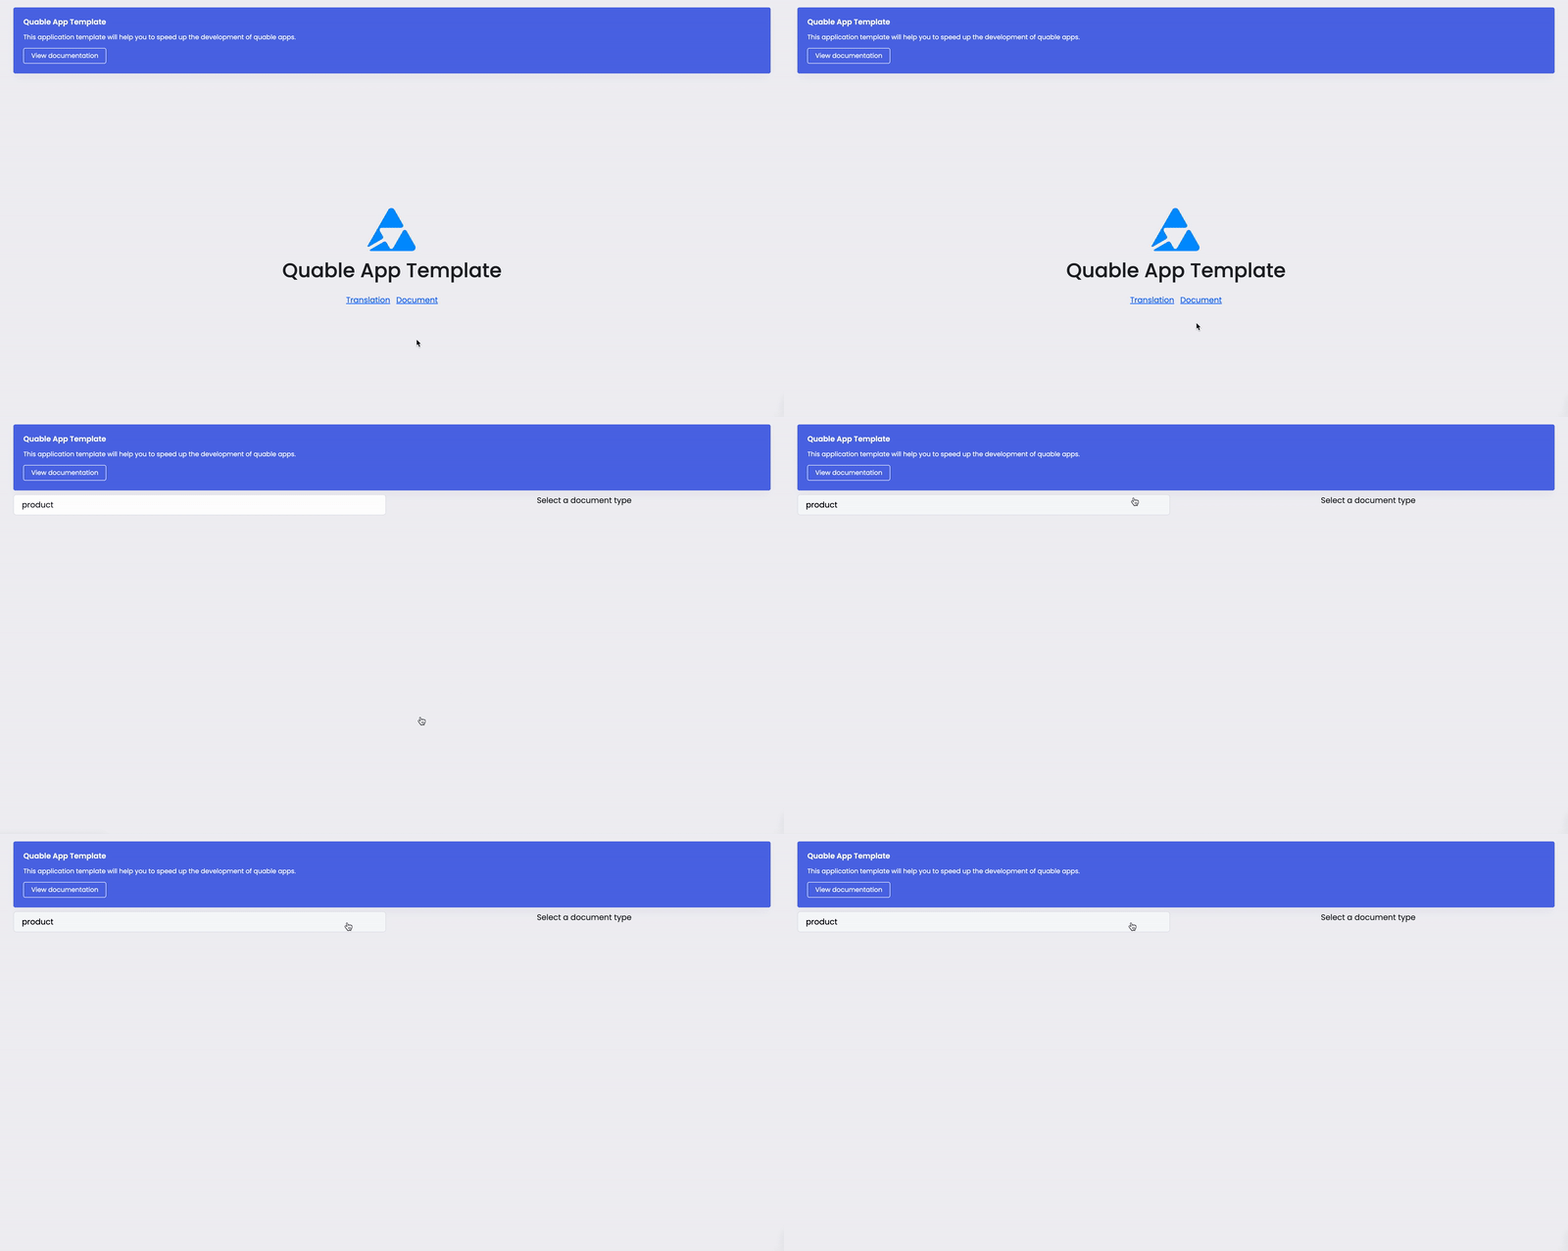
The provided ejs code displays a page with two sections. The left column, displays a list of document types as clickable buttons. Each button represents a document type and shows its name in the chosen interface language. If no document types are available, a message stating "No document types found" appears instead. The section on the right should be updated according to the document type selected.
Note
For every authenticated session, interfaceLocale and dataLocale variable are always defined in the views.
Finally, update the index.ejs template with a link to the document page. You should also include the authenticated customer variable the URL.
<div class="center">
  <img
    src="/images/quable-logo.png"
    alt="quable_logo"
    height="100"
    class="mb-2"
  />
  <h1 class="mb-4 text-bold">Quable App Template</h1>
  <a class="mx-1" href="<%- customer %>/translation">Translation</a>
  <a class="mx-1" href="<%- customer %>/document">Document</a>
</div>
Open your quable application to watch changes

#
2. Display documents
Let's add a new feature to load documents based on the type of document selected, using javascript. If a document doesn't have any images, we'll use a default image instead. Download this image, save it as no-image.jpg in the public/images folder, and we'll be good to go.
#
Update document service
Update DocumentService class with the following method:
public getDocuments = async (quableInstance: QuableInstance, params: any) => {
    const response: any = {
      statusCode: 200,
      message: 'OK',
      data: null,
    };

    try {
      const quablePimClient = new QuablePimClient({
          instanceName: quableInstance.name,
          apiKey: quableInstance.authToken,
      });

      response.data = await quablePimClient.PimApi.Document.getAll({
          limit: params.limit || 20,
          documentType: {
          id: params.docTypeId,
          },
      });
    } catch (error) {
      response.statusCode = 500;
      response.message = error?.message;
    }

    return response;
};
This new getDocuments function retrieves documents of a specified type using the QuablePimClient.
It retrieves a limited number of documents (20 by default).
#
Update document controller
Update the document.controller.ts file with the following method:
public getDocuments = async (req: any, res: Response) => {
      const response = await documentService.getDocuments(
          req.quableInstance,
          req.query,
      );
      return res.status(response.statusCode).send(response);
  };
The getDocuments function uses documentService.getDocuments to return documents as an API response.
#
Update document routes
Update the document.routes.ts file with the following route:
documentRouter.get("/all", documentController.getDocuments);It defines the /all path to receive GET requests, directing them to the getDocuments function in the documentController.
#
Fetch documents with Javascript
To fetch documents according to the selected document type, we'll use a JS script to detect click events on document types.
When a document type is clicked, it retrieves the corresponding documents and updates the displayed view with the documents data.
Let's create inside public/scripts folder, a new file called document.js and paste the provided code below:
import { renderErrorView } from "./ui/error.js";
import { createLoader } from "./ui/loader.js";
import { customFetch } from "./utils/custom-fetch.js";

let customer = "";
let dataLocale = "";

document.addEventListener("DOMContentLoaded", () => {
  const documentIndexPage = document.querySelector("#document-index-page");
  if (documentIndexPage) {
    dataLocale = documentIndexPage.getAttribute("dataLocale");
    customer = documentIndexPage.getAttribute("customer");
    addEventListeners();
  }
});

const addEventListeners = async () => {
  const docTypeContainer = document.querySelector("#document-types-container");
  const listItems = docTypeContainer.querySelectorAll("button");

  listItems.forEach((item) => {
    item.addEventListener("click", (event) => {
      const docTypeId = event.target.getAttribute("docTypeId");
      listItems.forEach((btn) => btn.classList.remove("active"));
      event.target.classList.add("active");
      onDocumentTypeClicked(docTypeId);
    });
  });
};

const onDocumentTypeClicked = async (documentTypeId) => {
  const documentsContainer = document.querySelector("#document-container");
  const loader = createLoader();
  loader.classList.add("bx-lg");
  documentsContainer.innerHTML = "";
  documentsContainer.append(loader);

  const url = `/${customer}/document/all?docTypeId=${documentTypeId}`;
  const { data, error } = await customFetch(url, { method: "GET" });

  documentsContainer.innerHTML = "";
  if (error) {
    documentsContainer.append(
      renderErrorView(error, () => onDocumentTypeClicked(documentTypeId))
    );
  } else if (data.length > 0) {
    renderDocuments(data, documentTypeId, documentsContainer);
  } else {
    documentsContainer.textContent = "No documents found";
  }
};

const renderDocuments = (documents, documentType, container) => {
  let parentElement =
    '<div class="list-group" style="max-height: 65vh; overflow-y: scroll;">';

  for (const doc of documents) {
    const name =
      (doc.attributes[`${documentType}_name`] &&
        doc.attributes[`${documentType}_name`][dataLocale]) ||
      doc.id;
    const imageUrl = doc.mainAssetThumbnailUrl || "/images/no-image.jpg";

    const content = `
      <a href="#" class="list-group-item list-group-item-action" aria-current="true">
        <div class="d-flex w-100 justify-content-between align-items-center">
          <img src="${imageUrl}" style="height: 45px;">
          <p class="m-0 p-0">${name}</p>
        </div>
      </a>`;

    parentElement += content;
  }

  parentElement += "</div>";
  container.innerHTML = parentElement;
};addEventListeners: Create event listeners on the document type buttons. When a button is clicked, it triggers onDocumentTypeClicked function and updates the button to be active.
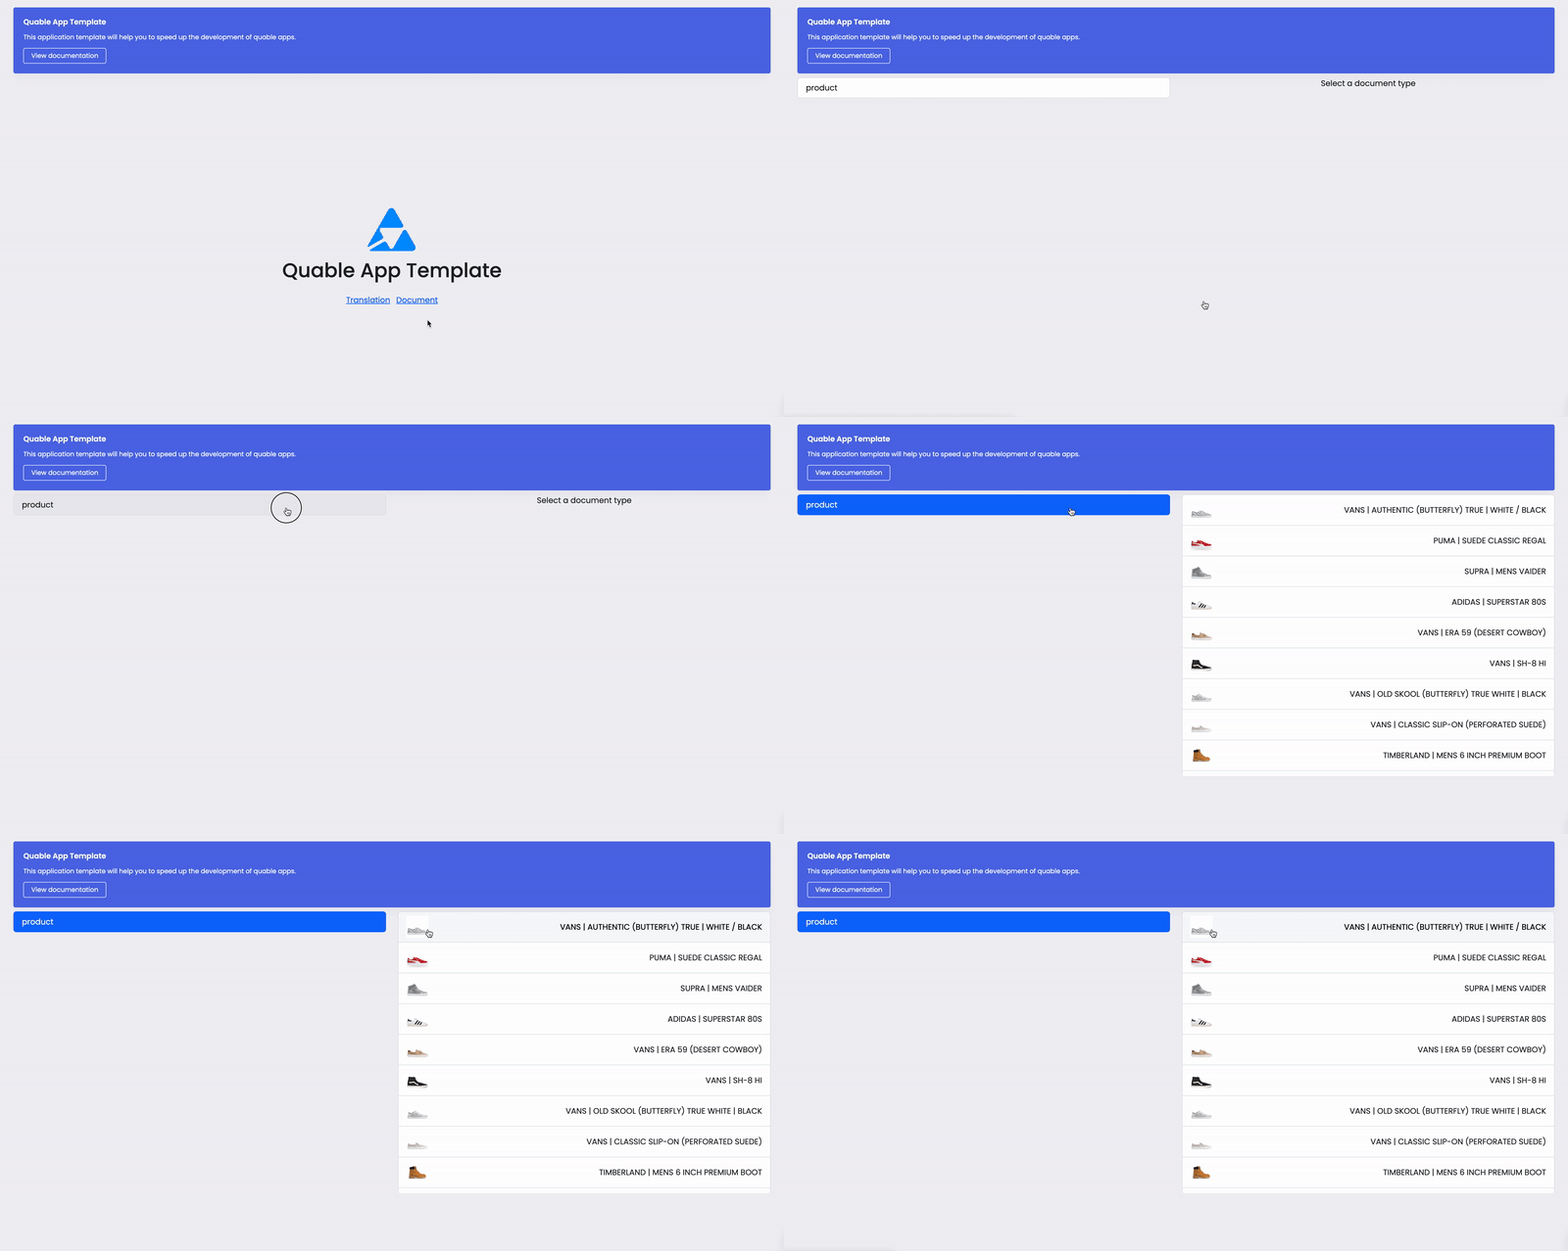
onDocumentTypeClicked: Fetches documents based on the selected document type. It displays a loader while fetching data and renders the documents in a list using the renderDocuments function. If an error occurs, it displays an error message using the renderErrorView function.
renderDocuments: Renders the fetched documents by generating an HTML list of documents, where each document is displayed as a clickable item with an image and a name.
#
Update document view
Update the document view document/index.ejs to include our document.js script. Wrap the current content of the index.ejs file in following div tag:
<div id="document-index-page" customer="<%= customer %>" dataLocale="<%= dataLocale %>">
  <div class="row">
    <div class="col text-left" id="document-types-container">
      <% if (documentTypes?.length > 0) { %>
      <ul class="list-group">
        <% documentTypes.forEach(function(documentType) { %>
        <button docTypeId="<%= documentType.id %>" type="button" class="list-group-item list-group-item-action">
          <%= documentType.name[interfaceLocale] || documentType.id %>
        </button>
        <% }); %>
      </ul>
      <% } else { %>
      <p>No document types found</p>
      <% } %>
    </div>
    <div class="col" id="document-container">Select a document type</div>
  </div>
</div>
<script type="module" defer src="/scripts/document.js"></script>
The attributes customer and dataLocale are used in the JavaScript code to build the correct url with the customer name for fetching documents and rendering the document names with the correct locale.
Open your quable application to watch changes

#
3. Display a document
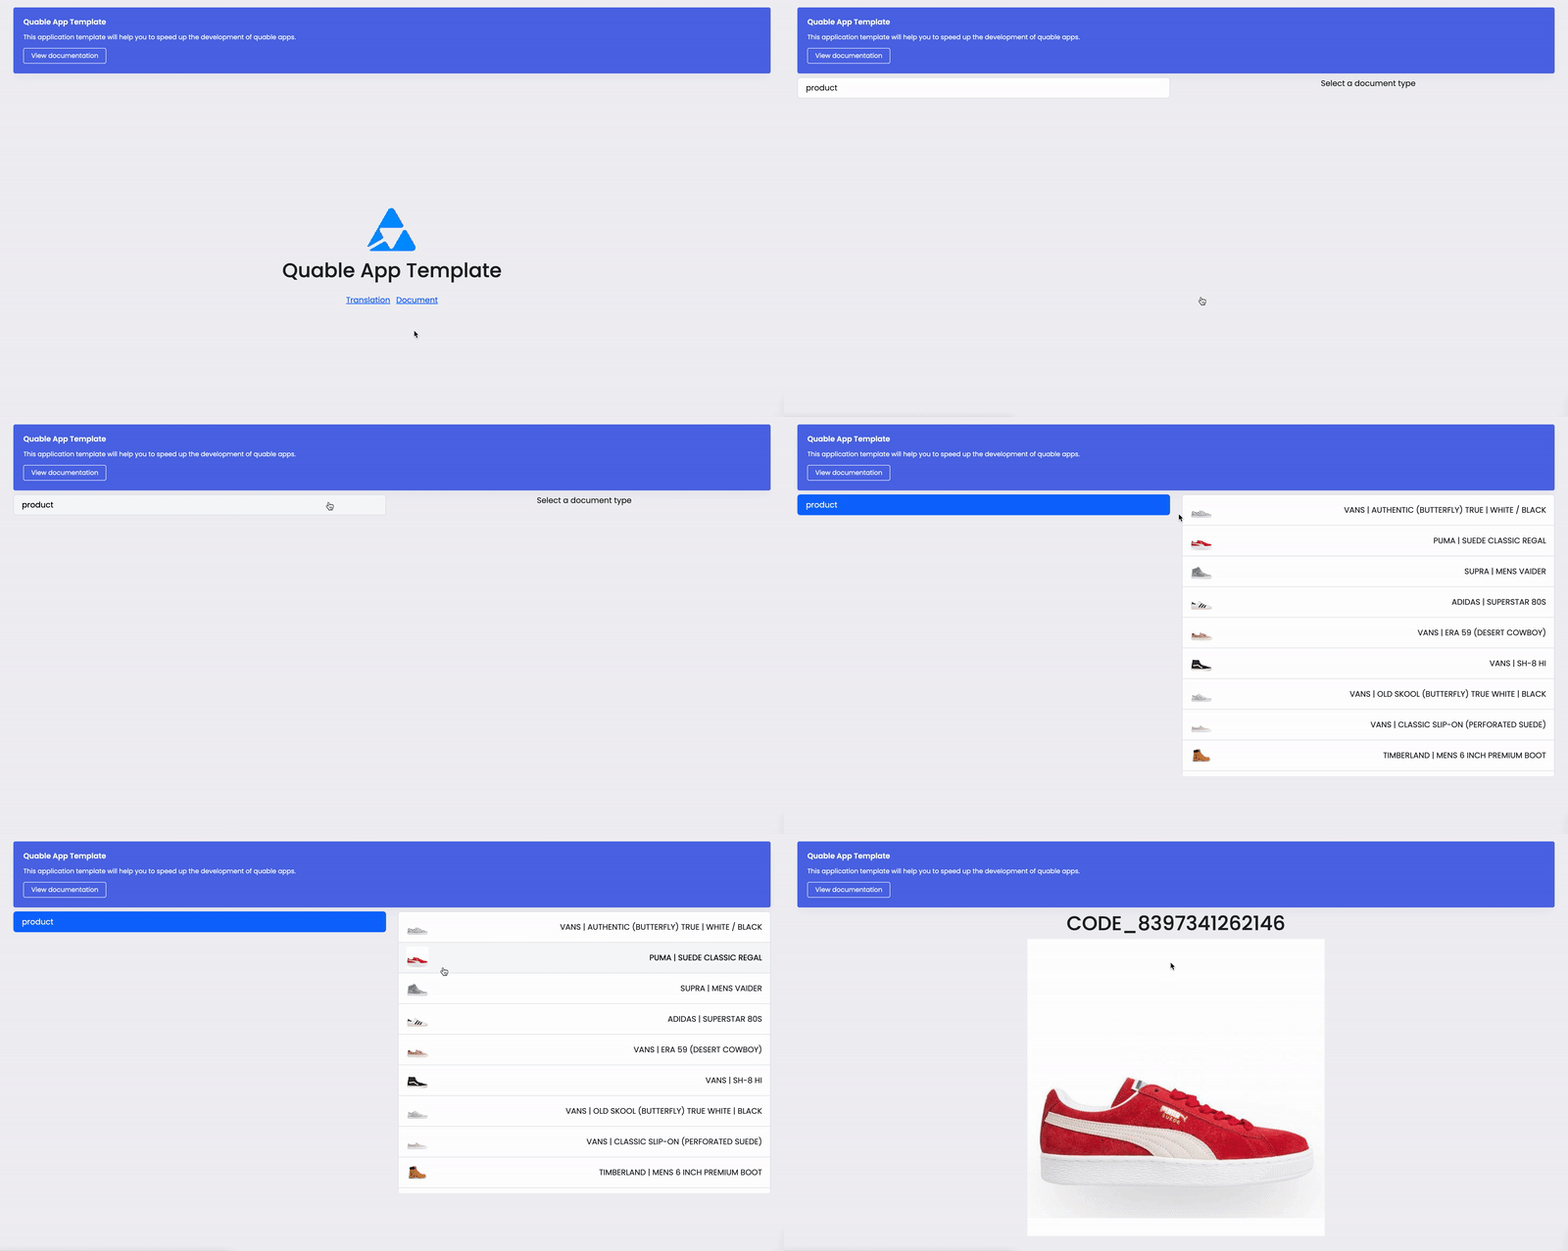
Now that we can display a list of documents of each document type, let's add a feature to display a specific document.
#
Update document service
Update the document.service.ts by insert the following method inside DocumentService class:
  public getDocumentById = async (quableInstance: QuableInstance, id: string) => {
      const response: any = {
          statusCode: 200,
          message: 'OK',
          data: null,
      };

      try {
          const quablePimClient = new QuablePimClient({
              instanceName: quableInstance.name,
              apiKey: quableInstance.authToken,
          });

          response.data = await quablePimClient.PimApi.Document.get(id);
      } catch (error) {
          response.statusCode = 500;
          response.message = error?.message;
      }

      return response;
  };
The getDocumentById function retrieves a document by its ID.
#
Update document controller
Update the document.controller.ts with the following method:
  public renderDocumentPage = async (req: any, res: Response) => {
      const response = await documentService.getDocumentById(
          req.quableInstance,
          req.params.id,
      );

      return res.render('pages/document/details', {
          document: response.data,
      });
  };
The renderDocumentPage method, uses documentService.getDocumentById method to retrieve a document by it's ID and renders the details page of the document.
#
Update document routes
Update the document.routes.ts file with the following routes:
documentRouter.get("/:id", documentController.renderDocumentPage);It defines a new path to handle GET request on /:id, directing them to the renderDocumentPage function in the documentController.
#
Create new document view
Create a file named details.ejs in the document folder and insert the code provided.
<div id="document-details-page">
  <% if (document) { %>
  <h1><%=document.id %></h1>
  <img
    class="img-fluid"
    src="<%= document.mainAssetThumbnailUrl || '/images/no-image.jpg' %>"
    alt="documentImage"
  />
  <% } else { %>
  <p>Document not found</p>
  <% } %>
</div>
#
Update document javascript
We will update the URL for accessing individual documents by replacing the content of the href attribute with the value /document/${document.id}. Here is the updated content code:
const content = `
    <a href="document/${doc.id}" class="list-group-item list-group-item-action" aria-current="true">
      <div class="d-flex w-100 justify-content-between align-items-center">
        <img src="${imageUrl}" style="height: 45px;">
        <p class="m-0 p-0">${name}</p>
      </div>
    </a>`;
Open your quable application to watch changes

#
4. Translate a document
We will now use what we did in the previous chapter to translate the attributes of our document and then update them in the PIM.
#
Update document service
In addition to the existing methods in our document.service.ts, we'll introduce three new methods to enhance our document handling capabilities:
- The
getLocalesmethod fetches all actives locales from a given Quable PIM instance.
public getLocales = async (quableInstance: QuableInstance, active = true) => {
  let locales: Record<string, any>[];

  try {
    const quablePimClient = new QuablePimClient({
      instanceName: quableInstance.name,
      apiKey: quableInstance.authToken,
    });

    locales = await quablePimClient.PimApi.Locale.getAll({
      active,
    });
  } catch (error) {
    locales = [];
  }

  return locales;
};- The
translateDocumentwill use the translationService to translate documents into specified languages.
import { translationService } from "./translation.service"; public translateDocument = async (
data: any,
quableInstance: QuableInstance,
) => {
const response: any = {
statusCode: 201,
message: 'OK',
data: null,
};
try {
const translatedAttributes: any = {};
for (const [id, text] of Object.entries(data.ttt)) {
const res = await translationService.createTranslation(
{
sourceLocale: data.src.split('_')[0],
sourceText: text,
targetLocale: data.tgt.split('_')[0],
},
quableInstance.id,
);
if (res.message != 'OK') {
response.statusCode = 500;
response.message = res?.message;
return response;
}
translatedAttributes[id] = res.data.targetText;
}
response.data = translatedAttributes;
} catch (error) {
response.statusCode = 500;
response.message = error?.message;
}
return response;
};- The
updateDocumentupdates the attributes of a specific document on a Quable PIM instance.
  public updateDocument = async (
    id: string,
    data: any,
    quableInstance: QuableInstance,
  ) => {
    const response: any = {
      statusCode: 201,
      message: 'OK',
      data: null,
    };
    try {
      const quablePimClient = new QuablePimClient({
        instanceName: quableInstance.name,
        apiKey: quableInstance.authToken,
      });
      response.data = await quablePimClient.PimApi.Document.update(id, {
        attributes: {
          ...data.attrs,
        },
      });
    } catch (error) {
      response.statusCode = 500;
      response.message = error?.message;
    }
    return response;
  };
#
Update controllers
Now we'll update document.controller.ts with the following methods renderTranslatePage & translateDocument and updateDocument to respectively render the translation view, translate documents and update them on the PIM.
  public renderTranslatePage = async (req: any, res: Response) => {
    const response = await documentService.getDocumentById(
      req.quableInstance,
      req.params.id,
    );

    const locales= await documentService.getLocales(req.quableInstance);

    return res.render('pages/document/translate', {
      document: response.data,
      locales,
    });
  };

  public translateDocument = async (req: any, res: Response) => {
    const response = await documentService.translateDocument(
      req.body,
      req.quableInstance,
    );
    return res.status(response.statusCode).send(response);
  };

  public updateDocument = async (req: any, res: Response) => {
    const response = await documentService.updateDocument(
      req.params.id,
      req.body,
      req.quableInstance,
    );
    return res.status(response.statusCode).send(response);
  };
#
Update document routes
Let's add 3 new route in our documentRouter :
documentRouter.get("/:id/translate", documentController.renderTranslatePage);
documentRouter.post("/:id/translate", documentController.translateDocument);
documentRouter.put("/:id", documentController.updateDocument);- Render Translate Page (
GET /:id/translate) : This route is used to render the translation page for a specific document. - Translate Document (
POST /:id/translate) : This route handles the translation of a document - Update Document (
PUT /:id) : This route is used for updating a specific document.
#
Create translation page view
We'll display product information fields and provide an interface for translation tasks. Create translate.ejs in views/pages/document directory with the following content:
<div id="document-translate-page">
  <% if (document) { %>
  <h1><%= document.id %></h1>
  <form class="py-2" id="translate-document-form">
    <input
      id="documentId"
      type="hidden"
      value="<%= document.id %>"
      name="documentId"
    />
    <input
      id="customer"
      type="hidden"
      value="<%= customer %>"
      name="customer"
    />
    <div class="row">
      <div class="col" id="source-container">
        <div class="mb-3">
          <select
            id="source-locale-select"
            name="sourceLocale"
            class="form-select"
          >
            <% locales.forEach(function(locale) { %>
            <option value="<%= locale.id %>">
              <%= locale.name[interfaceLocale] %>
            </option>
            <% }); %>
          </select>
        </div>
        <div class="mb-3">
          <%- include('../../components/attributes-input', { attributes:
          document.attributes, prefix: 'source' }); %>
        </div>
      </div>
      <div class="col" id="target-container">
        <div class="mb-3">
          <select
            id="update-source-locale"
            name="targetLocale"
            class="form-select"
          >
            <% locales.forEach(function(locale) { %>
            <option value="<%= locale.id %>">
              <%=locale.name[interfaceLocale] %>
            </option>
            <% }); %>
          </select>
        </div>
        <div class="mb-3">
          <%- include('../../components/attributes-input', { attributes:
          document.attributes, prefix: 'target' }); %>
        </div>
      </div>
    </div>
    <button id="translate-btn" class="btn btn-primary">Translate</button>
    <button id="update-btn" class="btn btn-primary">Update</button>
  </form>
  <% } else { %>
  <p>Document not found</p>
  <% } %>
</div>
<script type="module" defer src="/scripts/document-translate.js"></script>
In this EJS template, we use conditional rendering displays the document's details and a form for translation if the document exists, or a message if not found. The form includes fields for selecting source and target locales, and dynamically renders attribute fields for translation and updates.
Create attributes-input.ejs inside views/components with the following content:
<% let count = 0 %>
<% Object.entries(document.attributes).forEach(([id, value], index) => { %>
    <% if (count < 10) { %>
        <% count++ %>
        <label class="text-left w-100" for=""><%= id %></label>
        <% if (prefix === 'source') { %>
            <input data="<%= JSON.stringify(value) %>" id="<%= prefix %>-PREFIX-<%= id %>" disabled class="mb-2 form-control" type="text" value="<%= value[dataLocale] %>">
        <% } else { %>
            <input id="<%= prefix %>-PREFIX-<%= id %>" disabled class="mb-2 form-control" type="text">
        <% } %>
    <% } %>
<% }); %>
Don't forget to update views/pages/translation/details.ejs to provide a direct link to the translation page for a specific document.
<div class="d-flex mt-1 mb-2" style="justify-content: end">
    <a class="btn btn-sm btn-primary" href="/<%= customer %>/document/<%= document.id %>/translate">
        Translate
    </a>
</div>
#
Handle form actions with javascript
Let's create inside public/scripts folder, a new file called document-translate.js and paste the provided code below:
import { createLoader } from "./ui/loader.js";
import { customFetch } from "./utils/custom-fetch.js";
const toast = new Notyf({ position: { x: "center", y: "bottom" } });

document.addEventListener("DOMContentLoaded", () => {
  const page = document.querySelector("#document-translate-page");
  if (page) {
    const form = page.querySelector("#translate-document-form");
    handleSubmission(form);
    handleUpdate();
    onLocaleChange(form);
  }
});

const handleSubmission = (form) => {
  form.addEventListener("submit", async (e) => {
    e.preventDefault();
    const fd = new FormData(e.target),
      inputs = e.target.querySelectorAll('input[type="text"]'),
      ttt = {},
      src = fd.get("sourceLocale"),
      tgt = fd.get("targetLocale");
    if (src === tgt) {
      toast.error("Target and Source local cannot be the same");
      return;
    }
    inputs.forEach((input) => {
      let [prefix, aid] = input.id.split("-PREFIX-");
      if (prefix === "source" && input.value) ttt[aid] = input.value;
    });
    const btn = e.target.querySelector("#translate-btn"),
      ld = createLoader();
    btn.replaceWith(ld);
    const { data, error } = await customFetch(
      "",
      { method: "POST", body: JSON.stringify({ ttt, src, tgt }) },
      { "Content-Type": "application/json" }
    );
    if (error) {
      toast.error(error);
      ld.replaceWith(btn);
      return;
    }
    inputs.forEach((input) => {
      let [prefix, aid] = input.id.split("-PREFIX-");
      if (prefix === "target" && data[aid])
        input.setAttribute("value", data[aid]);
    });
    ld.replaceWith(btn);
  });
};

const handleUpdate = () => {
  const form = document.querySelector("#translate-document-form"),
    updateBtn = form.querySelector("#update-btn");
  updateBtn.addEventListener("click", async (e) => {
    e.preventDefault();
    const fd = new FormData(form),
      inputs = form.querySelectorAll('input[type="text"]'),
      attrs = {},
      did = fd.get("documentId"),
      cust = fd.get("customer"),
      tgt = fd.get("targetLocale");

    inputs.forEach((input) => {
      let [prefix, aid] = input.id.split("-PREFIX-");
      if (prefix === "target" && input.value) {
        attrs[aid] = {};
        attrs[aid][tgt] = input.value;
      }
    });
    if (!Object.keys(attrs).length) {
      toast.error("Please translate first");
      return;
    }
    const ld = createLoader();
    e.target.replaceWith(ld);
    const { error } = await customFetch(
      `/${cust}/document/${did}`,
      { method: "PUT", body: JSON.stringify({ attrs, tgt }) },
      { "Content-Type": "application/json" }
    );
    if (error) {
      toast.error(error);
      ld.replaceWith(e.target);
      return;
    }
    ld.replaceWith(e.target);
    toast.success("Document attributes updated");
  });
};

const onLocaleChange = (container) => {
  const sel = container.querySelector("#source-locale-select");
  sel.addEventListener("change", (e) => {
    container.querySelectorAll('input[type="text"]').forEach((input) => {
      if (input.id.split("-PREFIX-")[0] === "source") {
        const data = JSON.parse(input.getAttribute("data"));
        input.setAttribute("value", data[e.target.value] || "");
      }
    });
  });
  sel.dispatchEvent(new Event("change"));
};handleSubmissiongets input data and sends a translation request to a server and updates the UI based on the server's response.handleUpdategets updated translation data from the form, sends an update request to the server, and displays a success or error message based on the response.onLocaleChangehandles changes in the source language selection. It updates input fields with corresponding translations when the source language is changed.
Open your quable application to watch changes

Done ✅
In this tutorial, we've show how to interact with the API of your Quable PIM instance, using our quable-pim-js library. We've seen how to forward PIM API information to the front view, how to make requests from the application's front end using javascript, and finally how to update a product information directly on the PIM.
